How to create a local network over the internet
In this new guide of mine, I will explain how to create a local network over internet without setting up port forwarding on your router. Thanks to this new system you will be able to access your computer remotely, using only the internet connection, consequently, you will be able to access your data wherever you are. As always, know that there is free software, with excellent features, that will allow you to create a free VPN without making annoying changes to the configuration of your beloved router. This software is called ZeroTier. ZeroTier like many software is paid, but it also has a free plan, which has absolutely nothing missing that will allow you to implement a VPN, free, in a very short time. Now you will see in detail how to create a local network over internet with the free version of ZeroTier.
1. How to access ZeroTier
As I told you, ZeroTier provides a free version, the biggest limitation of this version is that you can only use it for personal needs. Now, before downloading and installing ZeroTier you must register on the portal and find your Network ID that ZeroTier will send you by email, immediately after completing the registration phase. Now, without wasting further time, go to the ZeroTier home page by clicking on this link, and proceed with the registration phase by clicking on the “Sign in” link.
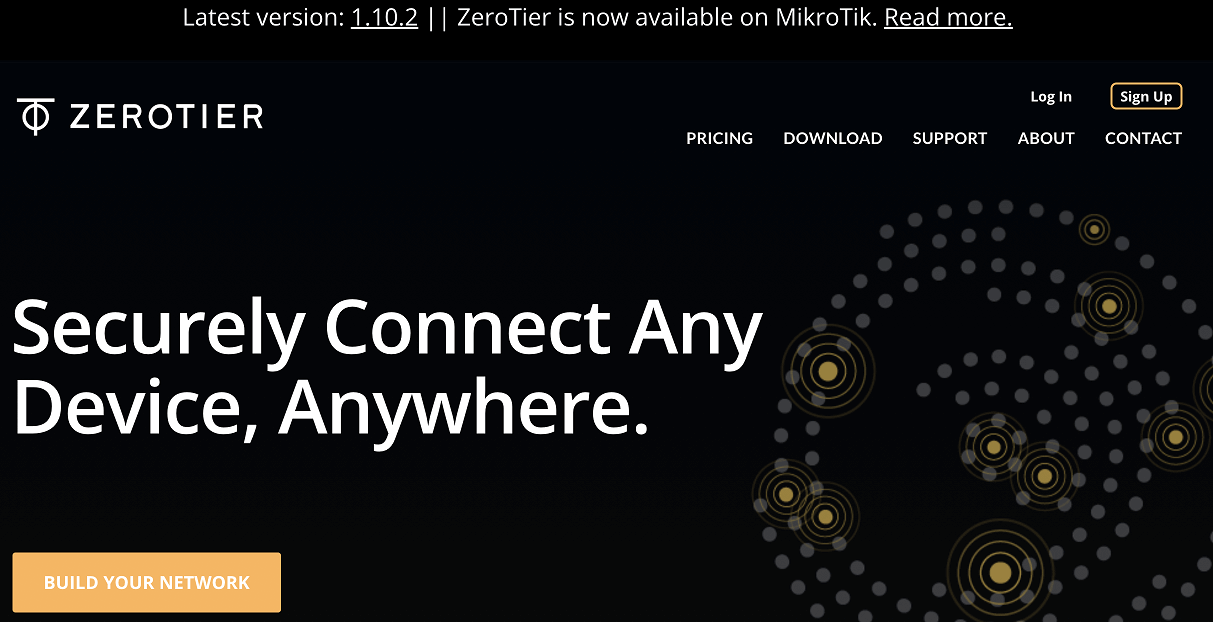
The registration phase on ZeroTier is really trivial. After clicking on the “Sign In” link, all you have to do is fill in the mandatory fields required by the service. Like all web services that require user registration, at ZeroTier, you can register even just by selecting one of the services offered. Among these services there is also Google. So if you have a Google account you can register by clicking on the “Google” button. For example, if you have a Microsoft account, by clicking on the relevant button you can register on ZeroTier, avoiding entering data that you have already provided to the aforementioned services.
If you want to register, using the conventional procedure, you must click on the yellow “Sign Up” button and proceed with entering the data that the portal requires.
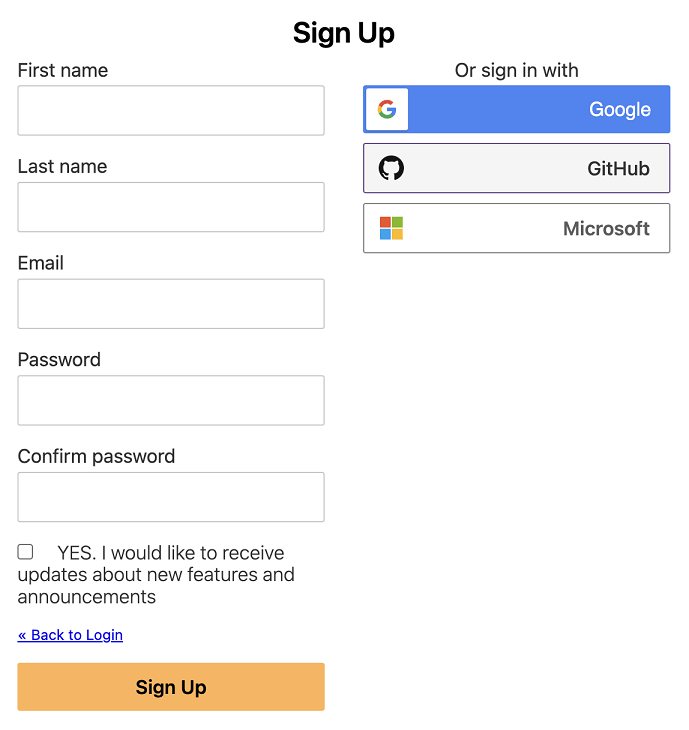
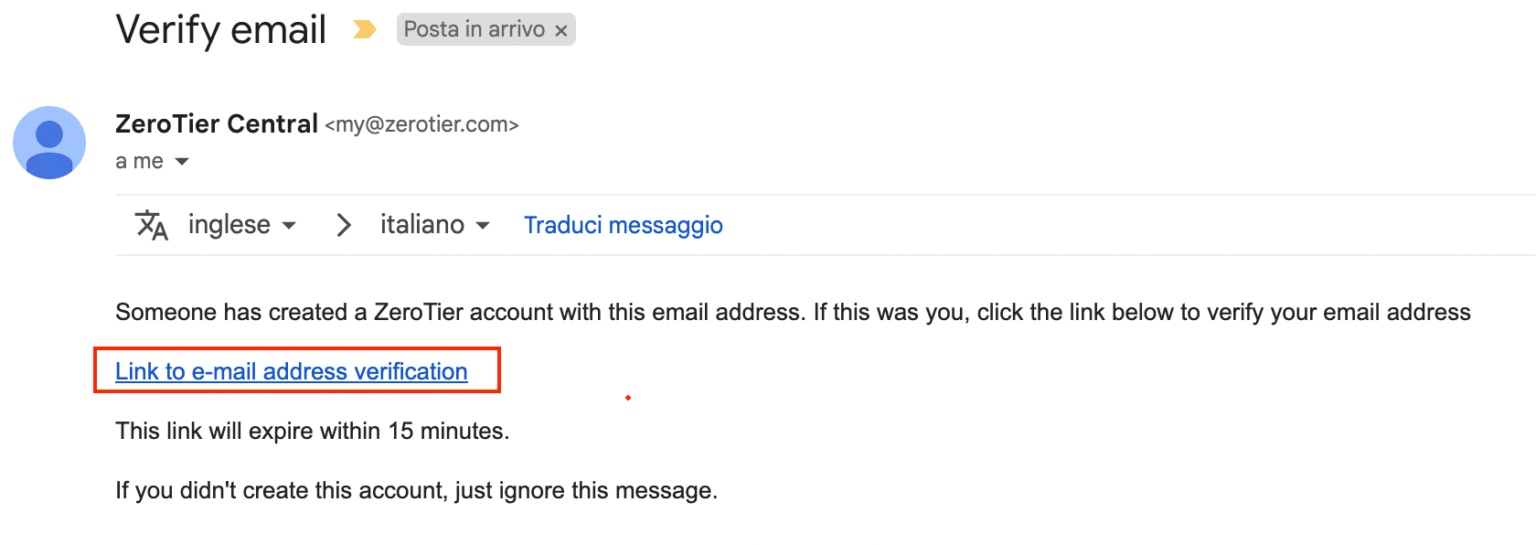
Then, after entering your name, surname, email and password, by clicking on the “Sign Up” button you will be sent an email, to the address indicated, containing the verification link of your email address. At this point, click on the link received and you will be immediately ready to create your first free VPN.
2. How to create a free VPN with ZeroTier
Immediately after the verification and confirmation of your email, you will have joined the Zerotier network and, by clicking on the “Create A Network” button, you will be able to create your VPN. Each time you log into ZeroTier you will need to click on the “Create A Network” button to access your Network ID and other useful data needed to create your VPN.

At this point, we can proceed with joining our first computer to the newly created VPN. First of all, you have to download ZeroTier on the computer to be merged and to do this you have to click on the “Download” button on the portal home page. After that, select your operating system by clicking on the relative icon. At this point the software download will start automatically and within a few seconds it will be available in the download folder of your PC.
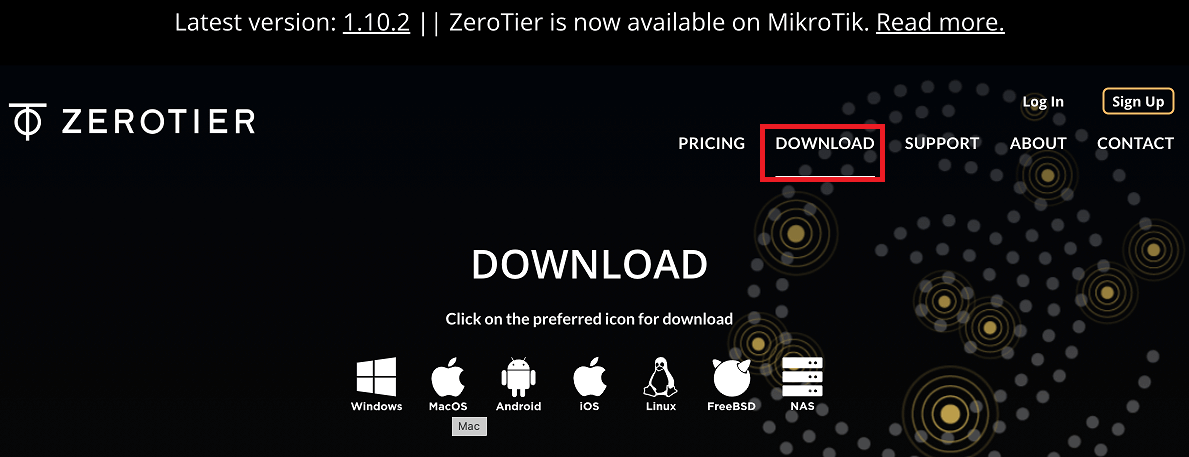
Once the software has been downloaded, you can proceed with its installation. The installation procedure is really simple and, regardless of the operating system used, in a few seconds ZeroTier will be installed and immediately ready on your computer. From now on, you can join this computer to the VPN.
Immediately after starting ZeroTier you will find it available in the application bar, or traybar, and by clicking on the relevant icon you can join your computer to ZeroTier by providing the software with your Network ID provided immediately after the first access to the portal. Now, to do this, after clicking on the ZeroTier icon in the application bar of your operating system, select “Join New Network”.
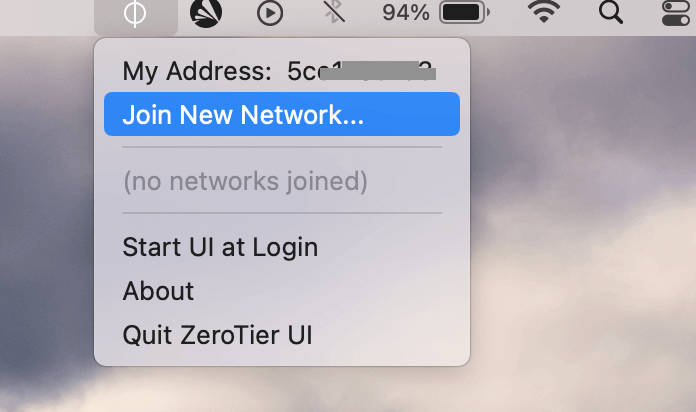
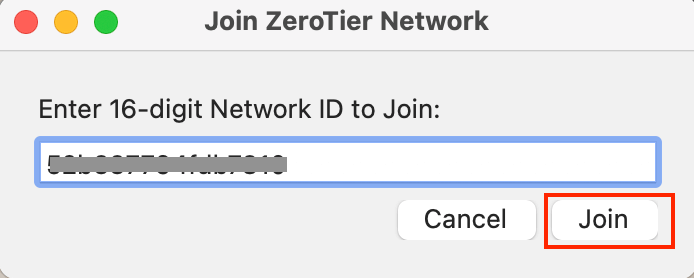
Enter your Network ID, as required, and click on the “join” button.
From this moment your computer will be visible, in the ZeroTier control panel, and available to be authorized to use the connection to the VPN. To access the ZeroTier control panel and authorize connection to a previously joined computer, you must log in with your credentials to the portal and follow the operations in the following paragraph.
Read more: How to Convert Folders to ISO image on Windows
3. How to join a computer to the VPN created with ZeroTier
The logic that governs the entire operation of ZeroTier is that, on each computer you wish to join the VPN, you must install ZeroTier, downloading it from the portal, and join it to the VPN as was done with the computer in the previous paragraph. Once the “Join” procedure of the computer to be joined to the VPN has been completed, you must log in to the ZeroTier portal and proceed with the activation of the computers that you will see already listed as they have been made visible after the execution of the “Join New Network” function activated on each car. Now we will see in detail how to join a computer to the VPN created above.
3.1 Joining the computer to the VPN network
Immediately after executing the “Join New Network” command, your computer will have been authorized to join the VPN as it is associated with the Network ID assigned when creating the VPN on ZeroTier. All the computers you associate with the same Network ID will be part of the same VPN network. Therefore, they will be able to communicate with each other and share the resources you wish to exhibit.
3.2 Activation of the computer to the VPN network
After the “Join New Network”, you will need to enable your computer as an active component within the VPN. To do this, you need to log into ZeroTier.com. After logging in, you will see all your VPN networks you have created listed.

Now, click on the record for the VPN to manage. Go to the bottom of the web page displayed, containing the details of the VPN, and check the checkbox corresponding to the PC to be activated. Enter the name that the machine must have within the network and note the IP address, present in the “Managed IPs” column, which the computer will assume within the VPN.
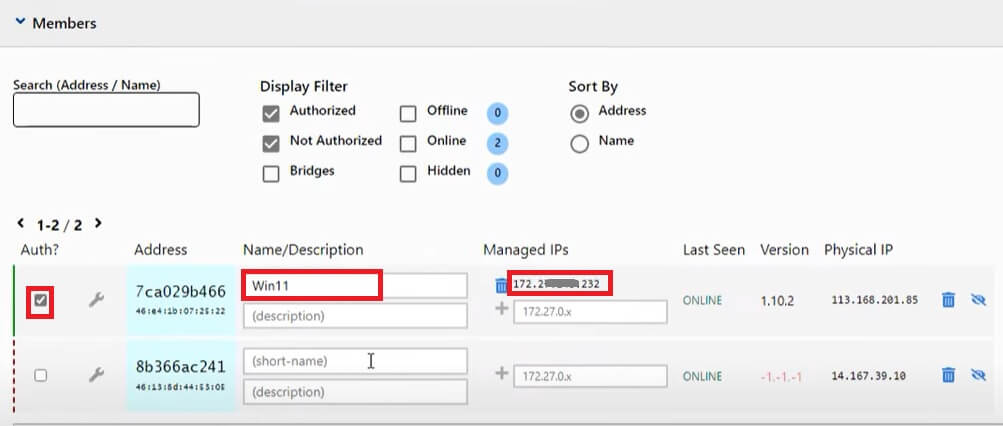
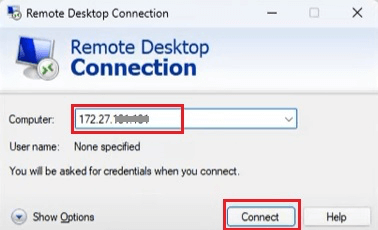
Once this is done, the computer will be visible on the network, and you can reach it via the internet, for example, even with a remote desktop connection. Then, open a remote desktop connection and copy and paste the IP address, noted previously, into the box labeled “computer” of the remote desktop. Now you just have to click on the “Connect” button and the desktop of your computer, connected to the VPN, will be displayed. And after entering your PC login credentials, ZeroTier will put you in connection with the computer where you can work as if you were physically present.
3.3 Share the resources of the computer connected to the VPN
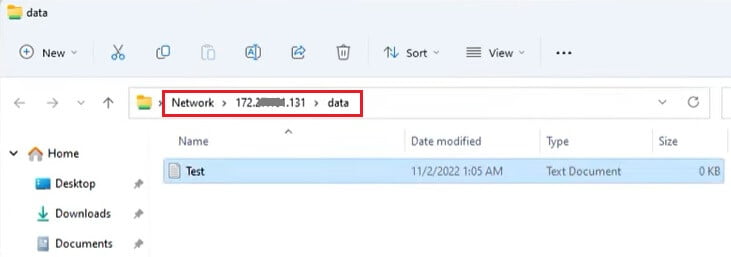
Once merged and enabled, on your computer, you will be able to share resources. For example, if you created a folder on the remote computer, called “DATA“, and then shared it with other users, setting the read / write security tab to the “everyone” group, with this command, typed from the command prompt, you could access to the contents of the folder remotely.
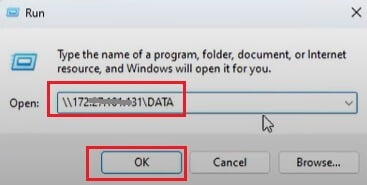
Logically, when you press the “OK” button you will be prompted to always type in the credentials to access the folder. Let’s talk about the remote computer login credentials.
4. Other useful resources
I hope I have explained to you as fully as possible what you can really do with ZeroTier. Also, I hope the main concept has passed, that with ZeroTier, you can virtualize any local private network on the internet, therefore, let’s talk about a real local network virtualization software using the internet as a communication channel. As in all my guides, here too I recommend that you follow this video tutorial, where you will be able to follow step-by-step the installation and configuration of a VPN with ZeroTier. In addition, you will be able to appreciate its extraordinary features.
Read more: Download images free no copyright


